In today’s digital world, WordPress stands as one of the most powerful platforms for building websites. However, there are times when you might want to keep your website hidden from public view. Whether you’re developing a new site, creating an intranet, sharing sensitive information, or simply building a private blog, understanding how to make a WordPress site private can be a lifesaver.
This guide will walk you through the process of making your WordPress site private, step by step, while also exploring reasons to do so and additional tools that can help you along the way.
Why Make Your WordPress Site Private?
Before diving into the “how-to,” it’s worth exploring why you might want to make your WordPress site private. Here are a few common reasons:
- Work in Progress: If your site is under development, you might not want visitors to see it until it’s ready.
- Exclusive Access: You may want to share content with a specific group of people, such as employees, clients, or members.
- Personal Blog: If your site contains personal reflections or sensitive content, keeping it private can maintain confidentiality.
- Educational or Training Material: Schools or businesses might use WordPress to share restricted content with students or employees.
- Intranet: For internal company use, having a private WordPress site ensures that only authorized personnel can access it.
Step-by-Step: How to Make WordPress Site Private
There are several ways to make a WordPress site private, ranging from using built-in features to employing plugins. Let’s break it down.
1. Adjust WordPress Settings
WordPress has built-in privacy features that allow you to hide your site from search engines or restrict content visibility. Here’s how to use these settings:
- Go to your WordPress dashboard.
- Navigate to Settings > Reading.
- Under “Search Engine Visibility,” check the box for Discourage search engines from indexing this site.
- Save your changes.
While this doesn’t make your site fully private, it prevents search engines from indexing your pages, which keeps your site less visible.
2. Use Password-Protected Pages
If you only want to hide specific pages or posts, WordPress allows you to password-protect them:
- Open the page or post you want to protect.
- In the “Publish” section (or “Status & Visibility” in the Block Editor), select Visibility.
- Choose Password Protected and set a password.
- Publish or update the page.
Visitors will need to enter the password to access the content.
3. Enable Private Mode for Posts or Pages
Another native option in WordPress is setting posts or pages to “Private.” Here’s how:
- Open the post or page you want to make private.
- In the “Publish” or “Status & Visibility” section, select Private.
- Publish or update the page.
Only logged-in users with the appropriate permissions can view private content.
4. Use a Plugin to Make Your Site Private
Plugins offer more flexibility and control when it comes to restricting access to your WordPress site. Here are a few popular options:
- My Private Site: This plugin makes your entire site private. Only users with wp-login/wp-admin credentials can access it.
- Password Protected: Allows you to restrict access to your site using a single password.
- WP-Members: This membership plugin can help you create a site where only registered users can access content.
Here’s how to use a plugin like “My Private Site”:
- Install and activate the wp plugin from the WordPress Plugin Directory.
- Go to the plugin’s settings page.
- Check the box to enable private mode.
- Customize login options and messages.
- Save changes.
Your site will now be hidden from the public.
5. Use Membership Features
If you want to create a membership site, plugins like MemberPress or Paid Memberships Pro allow you to restrict content to logged-in users or specific user roles.
Steps to create a private membership site:
- Install and activate the membership plugin of your choice.
- Set up membership levels and roles.
- Restrict content based on membership levels.
- Customize registration and login pages.
This approach is ideal for businesses, schools, or organizations that need to share content with a specific group of people.
Tips for Managing a Private WordPress Site
- Custom Login Pages: Create a custom login page to match your site’s branding.
- User Roles: Define user roles carefully to control who can access private content.
- SSL Certificate: Secure your site with an SSL certificate to protect data.
- Regular Updates: Keep WordPress, themes, and plugins updated to ensure security.
FAQs About Making a WordPress Site Private
Can I Make My Entire WordPress Site Private Without a Plugin?
Yes, you can adjust the “Search Engine Visibility” setting and use private or password-protected pages, but for full site privacy, a plugin is recommended.
Will a Private Site Affect SEO?
A private site won’t be indexed by search engines, so it won’t appear in search results. This is ideal if you’re not ready for public visibility.
Can I Switch a Private Site Back to Public?
Absolutely. Simply disable any privacy settings or plugins to make your site public again.
Conclusion
Whether you’re working on a project behind the scenes, sharing sensitive information, or building a private community, knowing how to make a WordPress site private gives you the flexibility to manage your content the way you need. From native WordPress settings to powerful plugins, you have plenty of tools to safeguard your site and control who can access it.
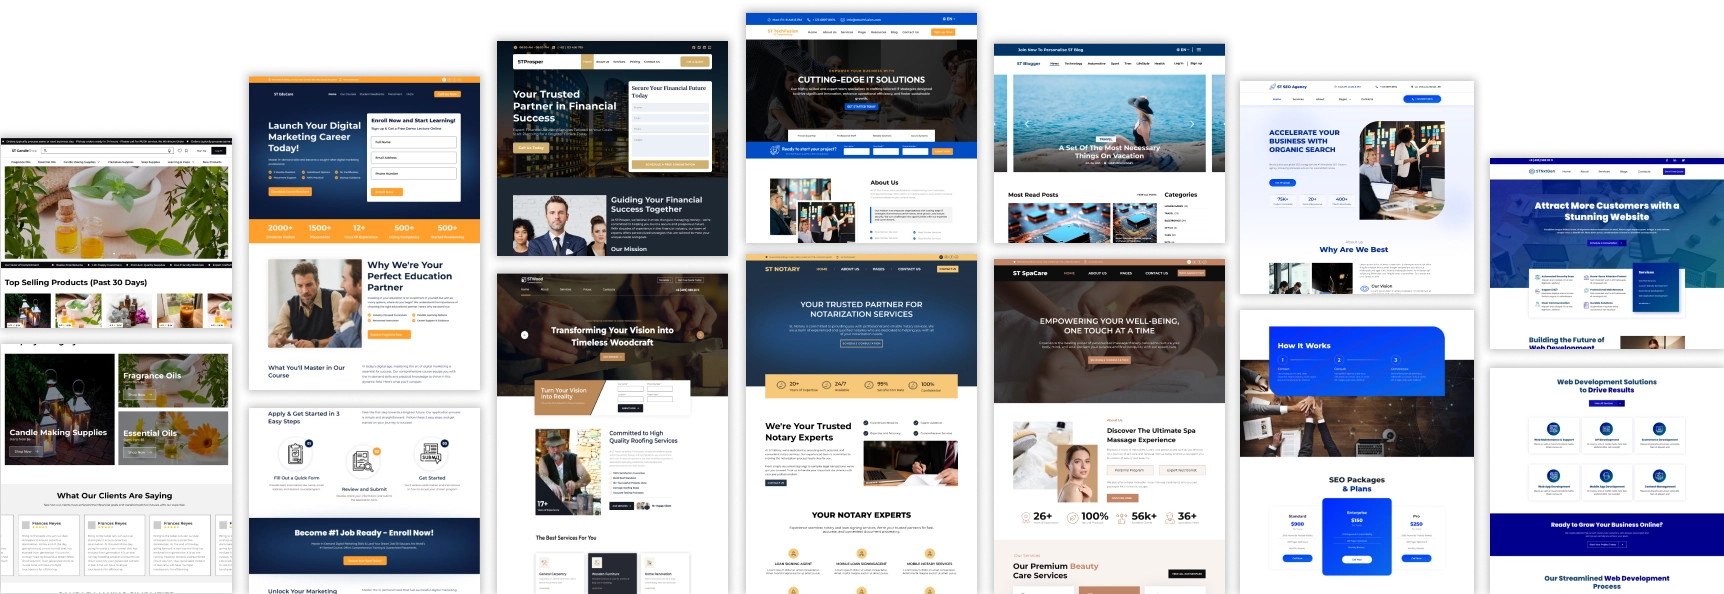
Discover the Ultimate WordPress Theme Bundle
Looking to elevate your WordPress site’s design? Explore our WordPress Theme Bundle, featuring premium themes that cater to every niche and style. Packed with responsive designs, customizable features, and seamless integration with privacy plugins, our bundle ensures your private site looks just as stunning as a public one. Don’t miss out on this incredible deal—unlock unlimited design possibilities today!